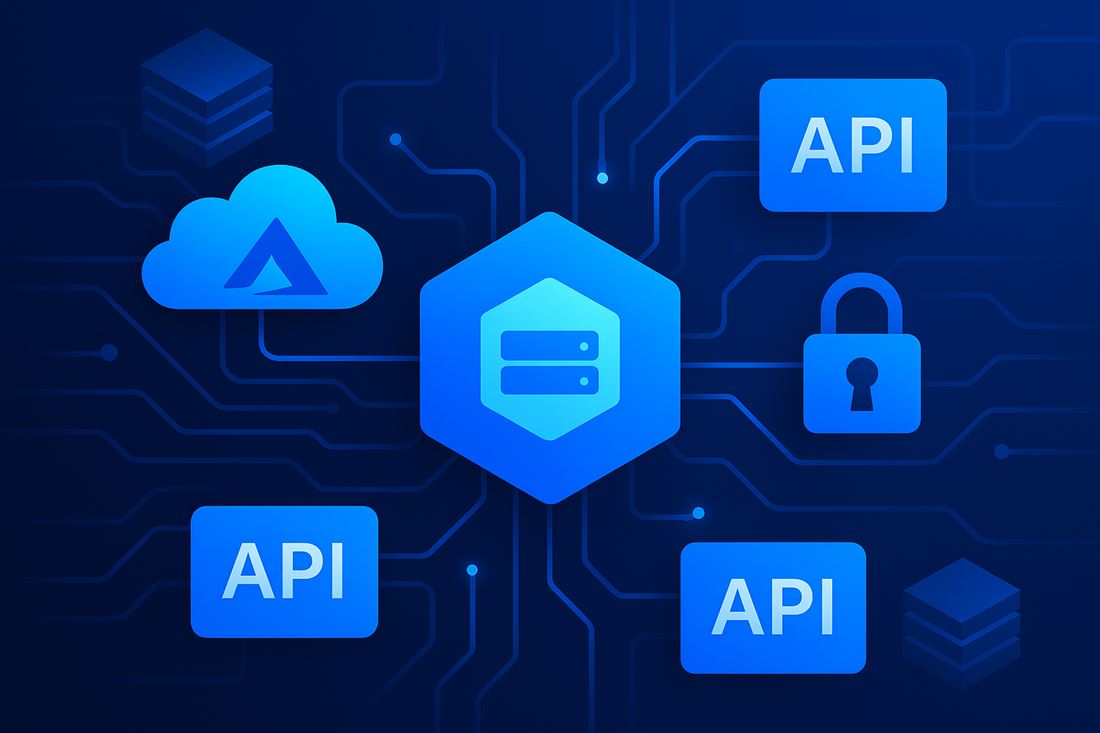
A practical introduction to Azure API Management Gateway: types (SaaS vs. self-hosted), networking (public/VNet/hybrid), creating APIs from OpenAPI/HTTP, policies, testing, and security using a subscription key.
Gateway in Azure API Management is a component that acts as an intermediary between clients and backend services. Its main role is to receive a request from a client, apply defined rules (e.g., authentication, limits, transformations), and then route the request to the target service.
There are two main types of gateways available:
- SaaS (hosted) Gateway – runs directly in Azure as part of the API Management service.
- Self-hosted Gateway – a containerized version of the gateway that you can deploy in an on-premises environment, on another cloud platform, or at edge locations. This enables unified API management even outside of Azure.
What is the API Management Gateway used for?
- Centralized API management – all API calls pass through the gateway, where rules defined in the policy are applied.
- Security – support for OAuth 2.0, IP filtering, encrypted connections, token validation, and protection against abuse.
- Request/response transformation – the ability to rewrite headers, URL paths, and the request/response body format (e.g., from XML to JSON).
- Rate limiting and throttling – protection of the backend against overload via request limits.
- Monitoring and logging – integrated tools for tracking API usage and identifying issues.
- API versioning and publishing – the ability to manage different API versions and publish test and production environments.
Where is Azure API Management suitable?
- Organizations with multiple internal and external APIs that require unified access and oversight.
- Companies that need to secure communication between frontend applications and backend systems.
- Scenarios where on-premises infrastructure is combined with cloud services.
- Projects requiring API monetization, monitoring, or secure access for third parties.
Introduction to Modern API Management
As applications grow in complexity and more and more services communicate via API interfaces, centralized management of these interfaces has become a necessity. This is precisely the purpose of an API Gateway—a component that acts as a single entry point for all requests directed to backend services.
The figure above shows a typical API Gateway usage scenario:
- Actor (user or client application) sends requests.
- Requests pass through the API GW (API Gateway)—this gateway first ensures the authentication of the user or application.
- After successful identity verification, the API Gateway then routes the request to the appropriate backend (e.g., microservice, database, REST API, etc.).
How to Install and Configure Azure API Gateway (API Management)
Step 1 – Log in to the Azure portal
The first step is to log in to the portal https://portal.azure.com.
Step 2 – Create a new API Management service
Click on “Create a resource” (top left).
Search for API Management.
Click on API Management and then “Create”.
Step 3 – Filling in the service parameters
Fill in the following fields in the form:
- Subscription – select an active subscription.
- Resource group – select an existing resource group or create a new one (e.g., api-gw-group).
- Resource Name – enter the service name (e.g., my-api-gateway).
- Region – select the preferred geographic region (e.g., West Europe).
- Organization name – enter the name of the organization or team.
- Administrator email – enter the administrator’s email address to which notifications will be sent.
After filling in the information, click Review + create and then Create to start deploying the service.
The Networking section in Azure API Management – connectivity options and settings
The Azure API Management (APIM) service offers several ways to make the API Gateway accessible to client applications—either publicly via the internet or privately within a secure network environment. The choice of connection mode has a significant impact on security, architecture, and the method of solution integration.
1. External (public connectivity)
- API Gateway is available via a public IP address—accessible from the internet without the need for a special network connection. Use cases:
- Web/mobile applications running outside of Azure
- External partners or customers
- Rapid testing or developmentInternal (internal connectivity – VNet Integration)
2. Access only from an Azure Virtual Network
- The Gateway runs in private mode – accessible only to resources in the same VNet or via a private connection (e.g., VPN, ExpressRoute). Use cases:
- Systems with sensitive data
- Corporate APIs inaccessible from the public internet
- Hybrid scenarios (on-premises + cloud)
3. Hybrid model – combination of Public + VNet
- Some parts of the API may be public (e.g., open API for third parties), others only for internal systems. Available in Premium Tier mode, where you can configure multiple regional instances and mixed connectivity. Use cases:
- Large organizations with multiple access requirements
- API interfaces for both the public and internal teams
Step 1: Creating an Azure Virtual Network
If a Virtual Network has not yet been created, set it up as follows:
- In the Azure Portal, select the "Create a resource" option.
- Enter "Virtual Network" in the search field and select the corresponding service.
- Name the network (e.g., apim-vnet).
- In the IP Addressing section, add an address range, such as 10.1.0.0/16.
- In the Subnets section, create a subnet named apim-subnet, such as 10.1.0.0/24.
Step 2: Setting up a public IP address
Next, you need to create a public IP address that will serve as the entry point for incoming requests:
- In the Azure Portal, select the Create a resource option again.
- Search for the Public IP address service.
- Name the IP address (e.g., apim-public-ip).
- In the SKU section, select Standard (required for integration with VNet).
- In the assignment section, select Static – the IP address will not change after creation.
This public IP address will later be assigned to the API Management service and will serve as a public access point for clients.
Step 3: Assigning the VNet and Public IP to APIM
After creating the network and IP address, complete the configuration as follows:
- Open the existing API Management (APIM) service in the Azure Portal.
- In the left menu, navigate to Network → Virtual Network → Configure.
- Select External mode.
- Select the created network apim-vnet and subnet apim-subnet.
- In the Public IP address section, select the address apim-public-ip.
- Confirm the changes by clicking Apply.
- Note: The change may take 15–45 minutes.
How to Create an API in Azure API Management
After deploying the API Gateway to Azure API Management (APIM), the next step is to create the API interface itself, through which requests from clients and applications will pass. APIM allows you to easily create a new API or import existing specifications (e.g., OpenAPI / Swagger / WSDL).
Options for creating an API
In the Azure API Management environment, you can create an API interface in several ways:
- Import an existing OpenAPI specification (Swagger)
- Import a SOAP service based on a WSDL definition
- Connect to an existing service in Azure App Service or Azure Functions
- Create a blank API and manually add operations
Step 1: Open Azure API Management and go to the “APIs” section
- The created API Management service opens in the Azure portal.
- In the left navigation pane, click “APIs”.
- To add a new API, select “+ Add API” or “Create from scratch,” depending on your preferred method of creating the interface.
The image above shows the interface for designing and editing APIs in the Azure API Management service. This is the area where you configure the behavior of the API gateway—including processing incoming requests, modifying responses, defining individual operations, and applying policies. Using this interface, you can finely control how client requests are processed before they are sent to the backend, as well as modify responses before they are returned to the client.
The interface is divided into four main sections (from left to right):
1. Navigation pane (left side)
- Search APIs / operations – allows you to search through the list of your APIs or their operations.
- Add API – button to add a new API to the service.
- All APIs – list of all APIs you have created.
- The example shows the Echo API – a sample/test API available after installation.
2. Frontend operation definition
- Displays details of the current operation, in this case:
- GET /resource
- The operation has query parameters: param1 (string) and param2 (number)
- The response from the operation is indicated as 200 OK (successful response).
- The following is defined here:
- Method (GET, POST, etc.)
- Path (/resource)
- Parameters
- Response type (e.g., JSON, XML)
3. Inbound processing
- This section defines what should happen to a request from the client before it is sent to the backend.
- The following policies are defined here:
- JWT token validation (validate-jwt)
- Rate limiting (rate-limit)
- Header or URL modification (rewrite-uri, set-header)
- In the image, we can see that a basic policy labeled "base" has been added.
4. Backend section
- Displays the HTTP(S) endpoint to which the request should be routed.
- In this case: http://echoapi.cloudapp.net/api
- This means that requests passing through the gateway are sent to this backend.
- Policies can be added in this section, for example, to modify the URL or to secure requests.
5. Outbound processing
- This section determines how the response from the backend should be modified before it is sent to the client.
- Examples of use:
- Removing or adding headers
- Transforming XML to JSON
- Logging responses
- The image shows the basic "base" policy being used.
Creating a New HTTP API
The image above shows the form that appears after clicking “+ Add API” and then selecting the HTTP API option. This form is used for the basic configuration of a new API interface that will be made available via the API Gateway.
Below are explanations of the individual fields:
1. Display name:
- The visible name of the API that will be displayed in the APIM interface.
- It can be anything—in this case:
- Returns the requester’s IP Address
2. Name:
- Internal API identifier—used in URLs and system logs.
- It is automatically generated from the name, but you can edit it (e.g., no spaces, lowercase letters).
- In the example:
- returns-the-requester-s-ip-address
3. Description:
- A short description of the API – optional, but recommended for clarity.
- Here, it serves to explain the purpose:
- Returns the requester’s IP Address
4. Web service URL:
- The most important field – here you enter the actual URL of the backend service where the request should be directed.
- In this case, it is a publicly available test API:
5. URL scheme:
- You choose whether the API will operate via HTTP, HTTPS, or both.
- It is recommended to use only HTTPS for secure communication.
6. API URL suffix:
- The suffix that is appended to the APIM domain – it forms the final API address.
- For example, if you choose "ip", the resulting endpoint will be:
- https://mhi.. .api.azure-api.net/ip
7. Base URL (automatically generated):
- The base address of your API Management gateway – cannot be modified.
- In this case:
- https://mhi...azure-api.net
8. Tags:
- Optional field – used for categorizing and filtering APIs.
- Useful when dealing with a large number of APIs (e.g., internal, external, booking, etc.)
9. Products:
- The API must be assigned to at least one product; otherwise, it will not be published.
- A product is an "API package" provided to users (e.g., Free Tier, Premium APIs).
Adding an operation: GET /ip – request and response example
In the image above, we see a screen where the configuration of a specific GET-type API operation is currently in progress. This operation is called Returns the requester's IP Address and will be used to retrieve the IP address of the calling client. This request will be redirected to the test service https://httpbin.org/ip.
1. Display name:
- Internal operation identifier – no spaces or diacritics.
- Used in internal API exports and system calls.
- In the example:
- returns-the-requester-s-ip-address
2. URL:
- Here you can define:
- Method: GET
- Path: /ip
- The combination of the API suffix and this path creates the final endpoint, for example:
3. Responses section:
- This section defines the expected responses from the backend, which are processed by the gateway.
- In this case, the response is defined as:
- Status code: 200 OK
- Description (on the right) – currently empty, but can contain a JSON example of the response, a schema, or notes.
How to test the API using the cURL command
After creating and deploying the API in Azure API Management, it is advisable to perform testing outside the portal—for example, via the command line using the cURL tool.
By default, Azure API Management requires that every request be authorized using a so-called subscription key. This key is added either as an HTTP header (Ocp-Apim-Subscription-Key) or as a parameter directly in the URL (?subscription-key=...).
However, if anonymous access is enabled, the API can be tested without using a subscription key. This mode is primarily used for publicly available API endpoints or for testing purposes.
Enabling authentication using a subscription key
Azure API Management offers several methods for authenticating requests directed at published APIs. The choice of a specific method depends on security requirements, the client type, and the purpose of the API itself (public vs. internal). Authentication ensures that only an authorized user or application can call the API.
Subscription key (default method) – Each API can be secured using a subscription key, which is included in the request:
1. Either in the HTTP header:
- Ocp-Apim-Subscription-Key: <key>
2. Or as a parameter in the URL:
- ?subscription-key=
A subscription key in Azure API Management is a security token used to identify and authorize clients accessing published APIs. It is a simple yet effective way to secure APIs against unauthorized access. A subscription key takes the form of a randomly generated string, typically 32 to 40 characters long, such as 1a2b3c4d5e6f7g8h9i0jklmnopqrstuv, and contains no special characters.
Each key is tied to a specific subscription that belongs to a selected product within the APIM service. Two keys—a primary and a secondary key—are automatically generated for each subscription; they have the same validity period and can be renewed (regenerated) at any time. In addition to authorizing requests, the subscription key also enables usage tracking, quota enforcement, rate limiting, and access logging by user or application. In environments with multiple clients or partners, it provides an effective way to manage and secure access to the API without the need for complex authentication logic.